Step 11:
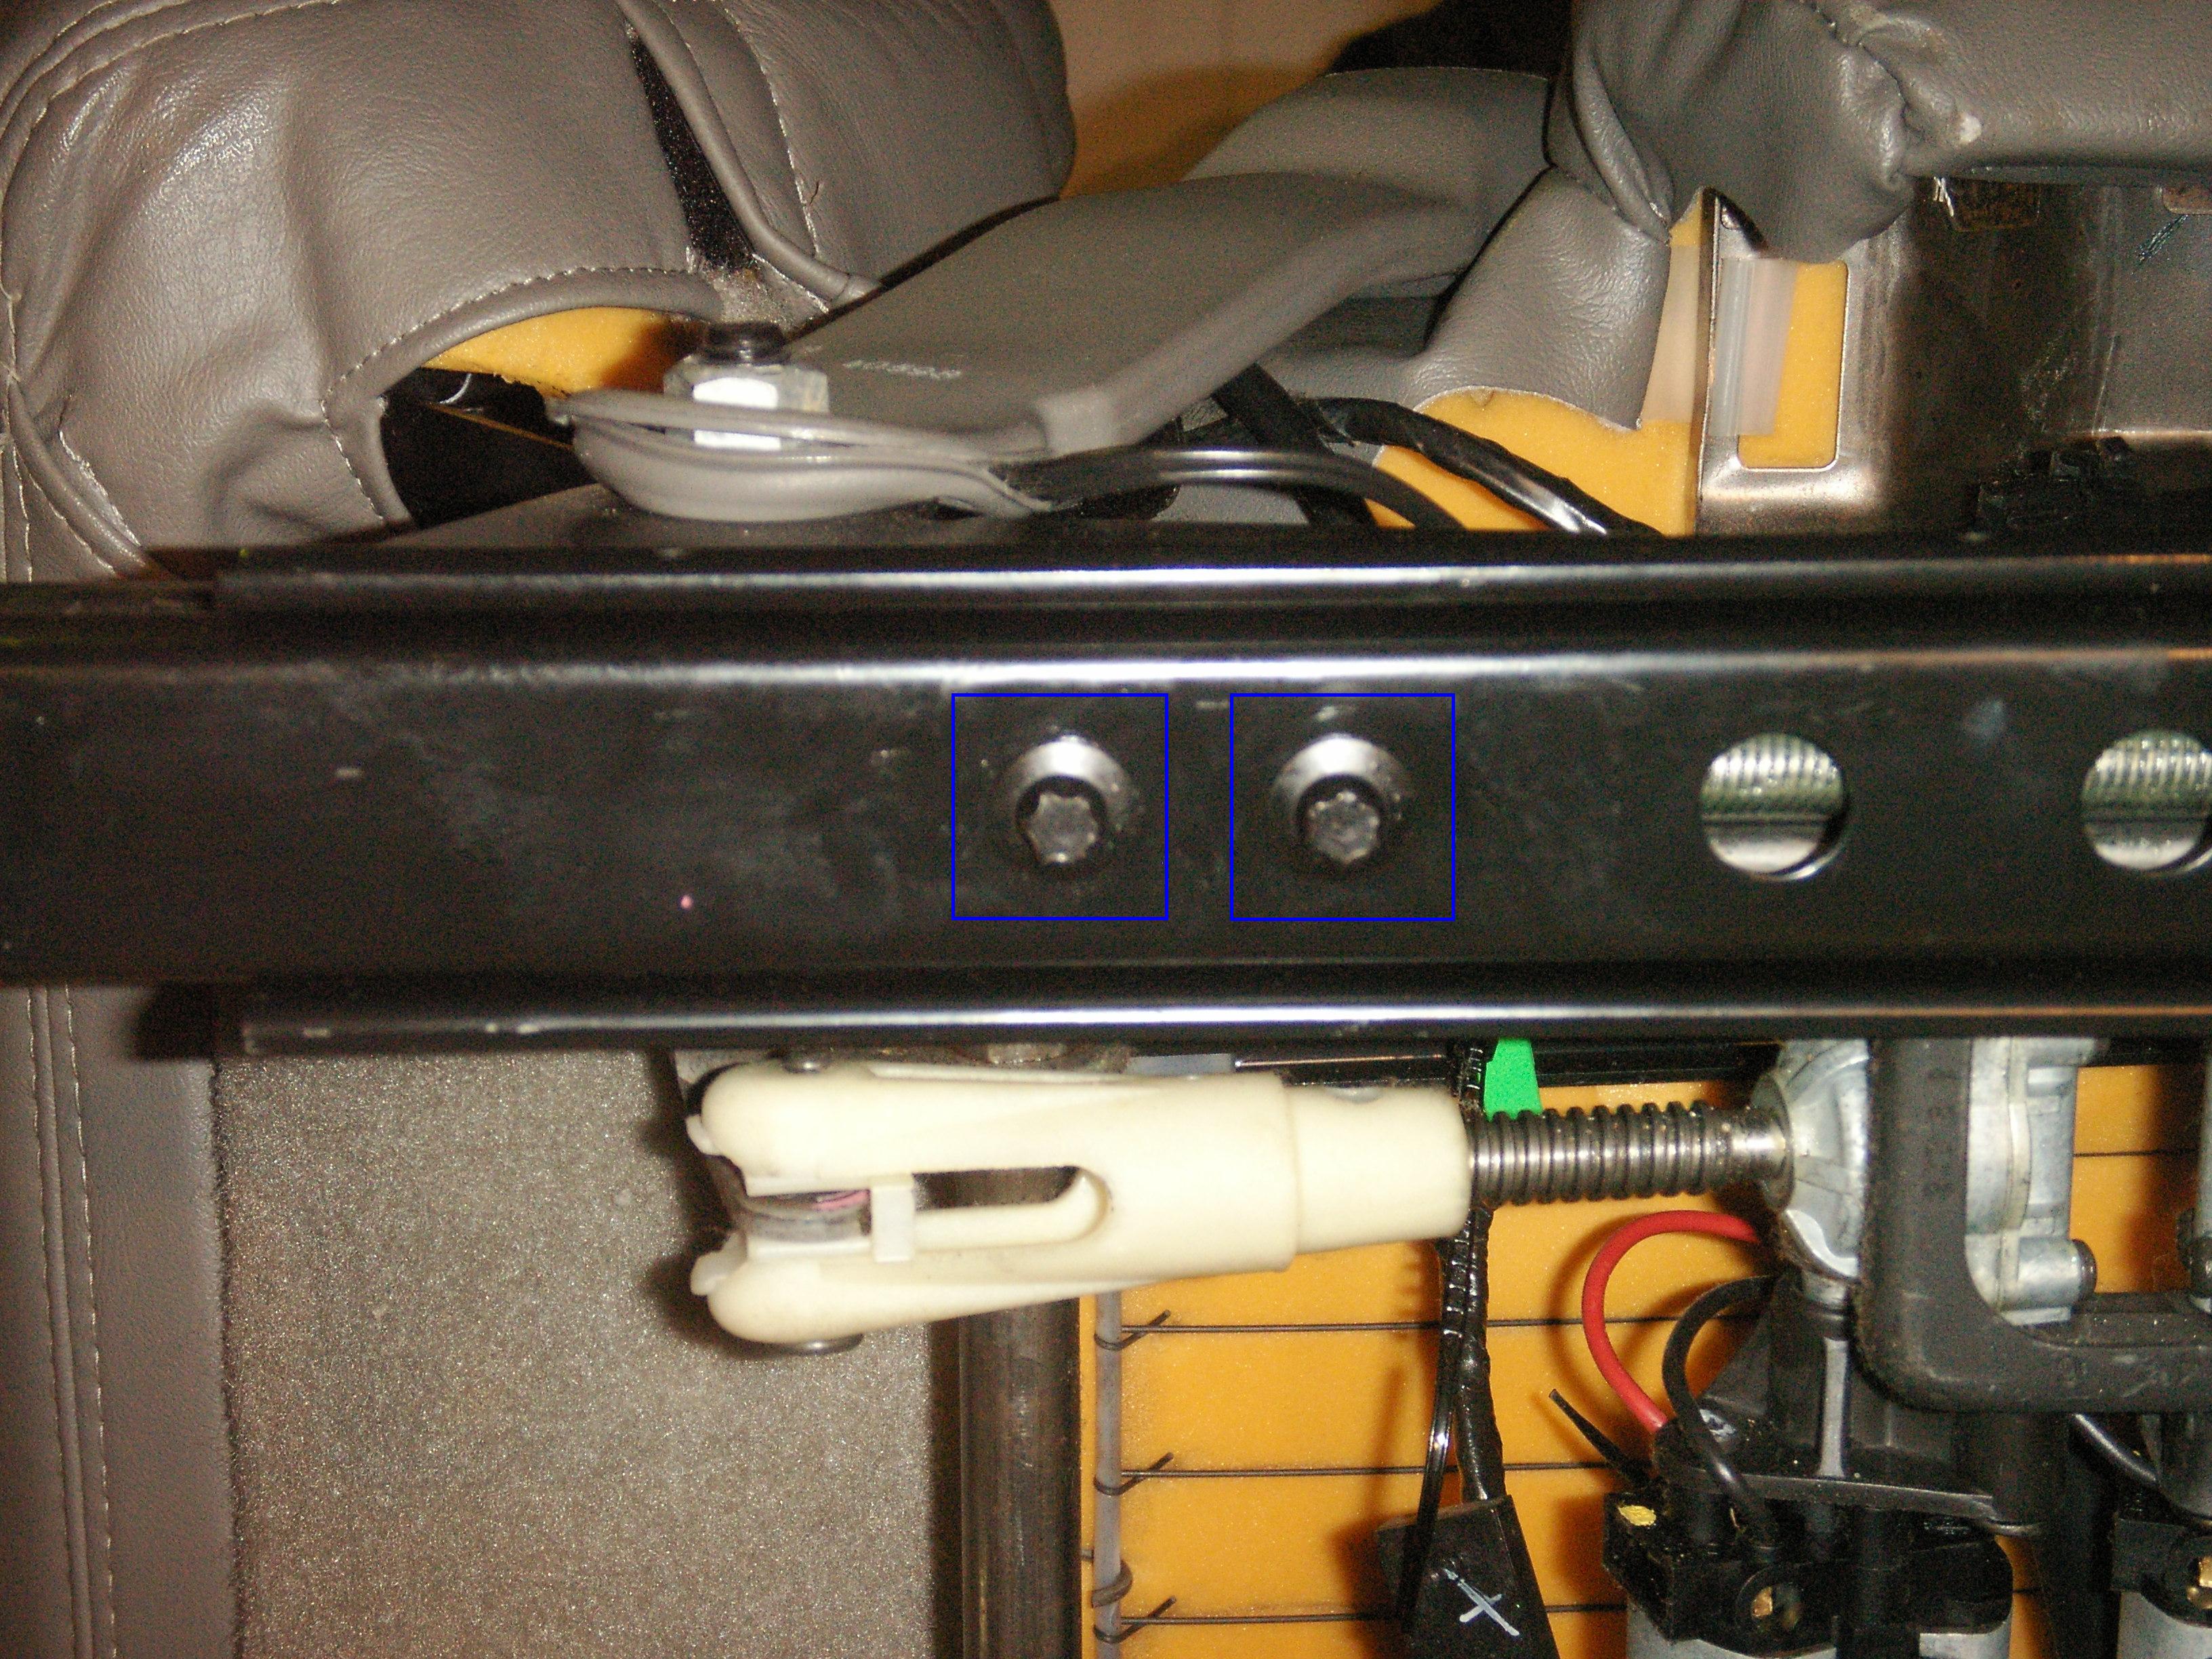
After you have removed the rivets and the one E12 bolt, continue by prying with your specially made screw driver tool against the track behind the metal bracket over the double headed stud at the end of the track. Once you get the metal piece jammed on top of the edge of the rivet. Take one of the E10 Bolts and attach into the aluminum block threw one of the holes on the track.
Either take a block of wood and a hammer and bump the other end of the track or take a screw driver and slide it threw another hole in the track and jerk the track towards the back of the seat. Or come up with your own method of removing this from the track with out damaging it. This will free the screw assembly from the track and you can slide it out of the track.
Step 12:
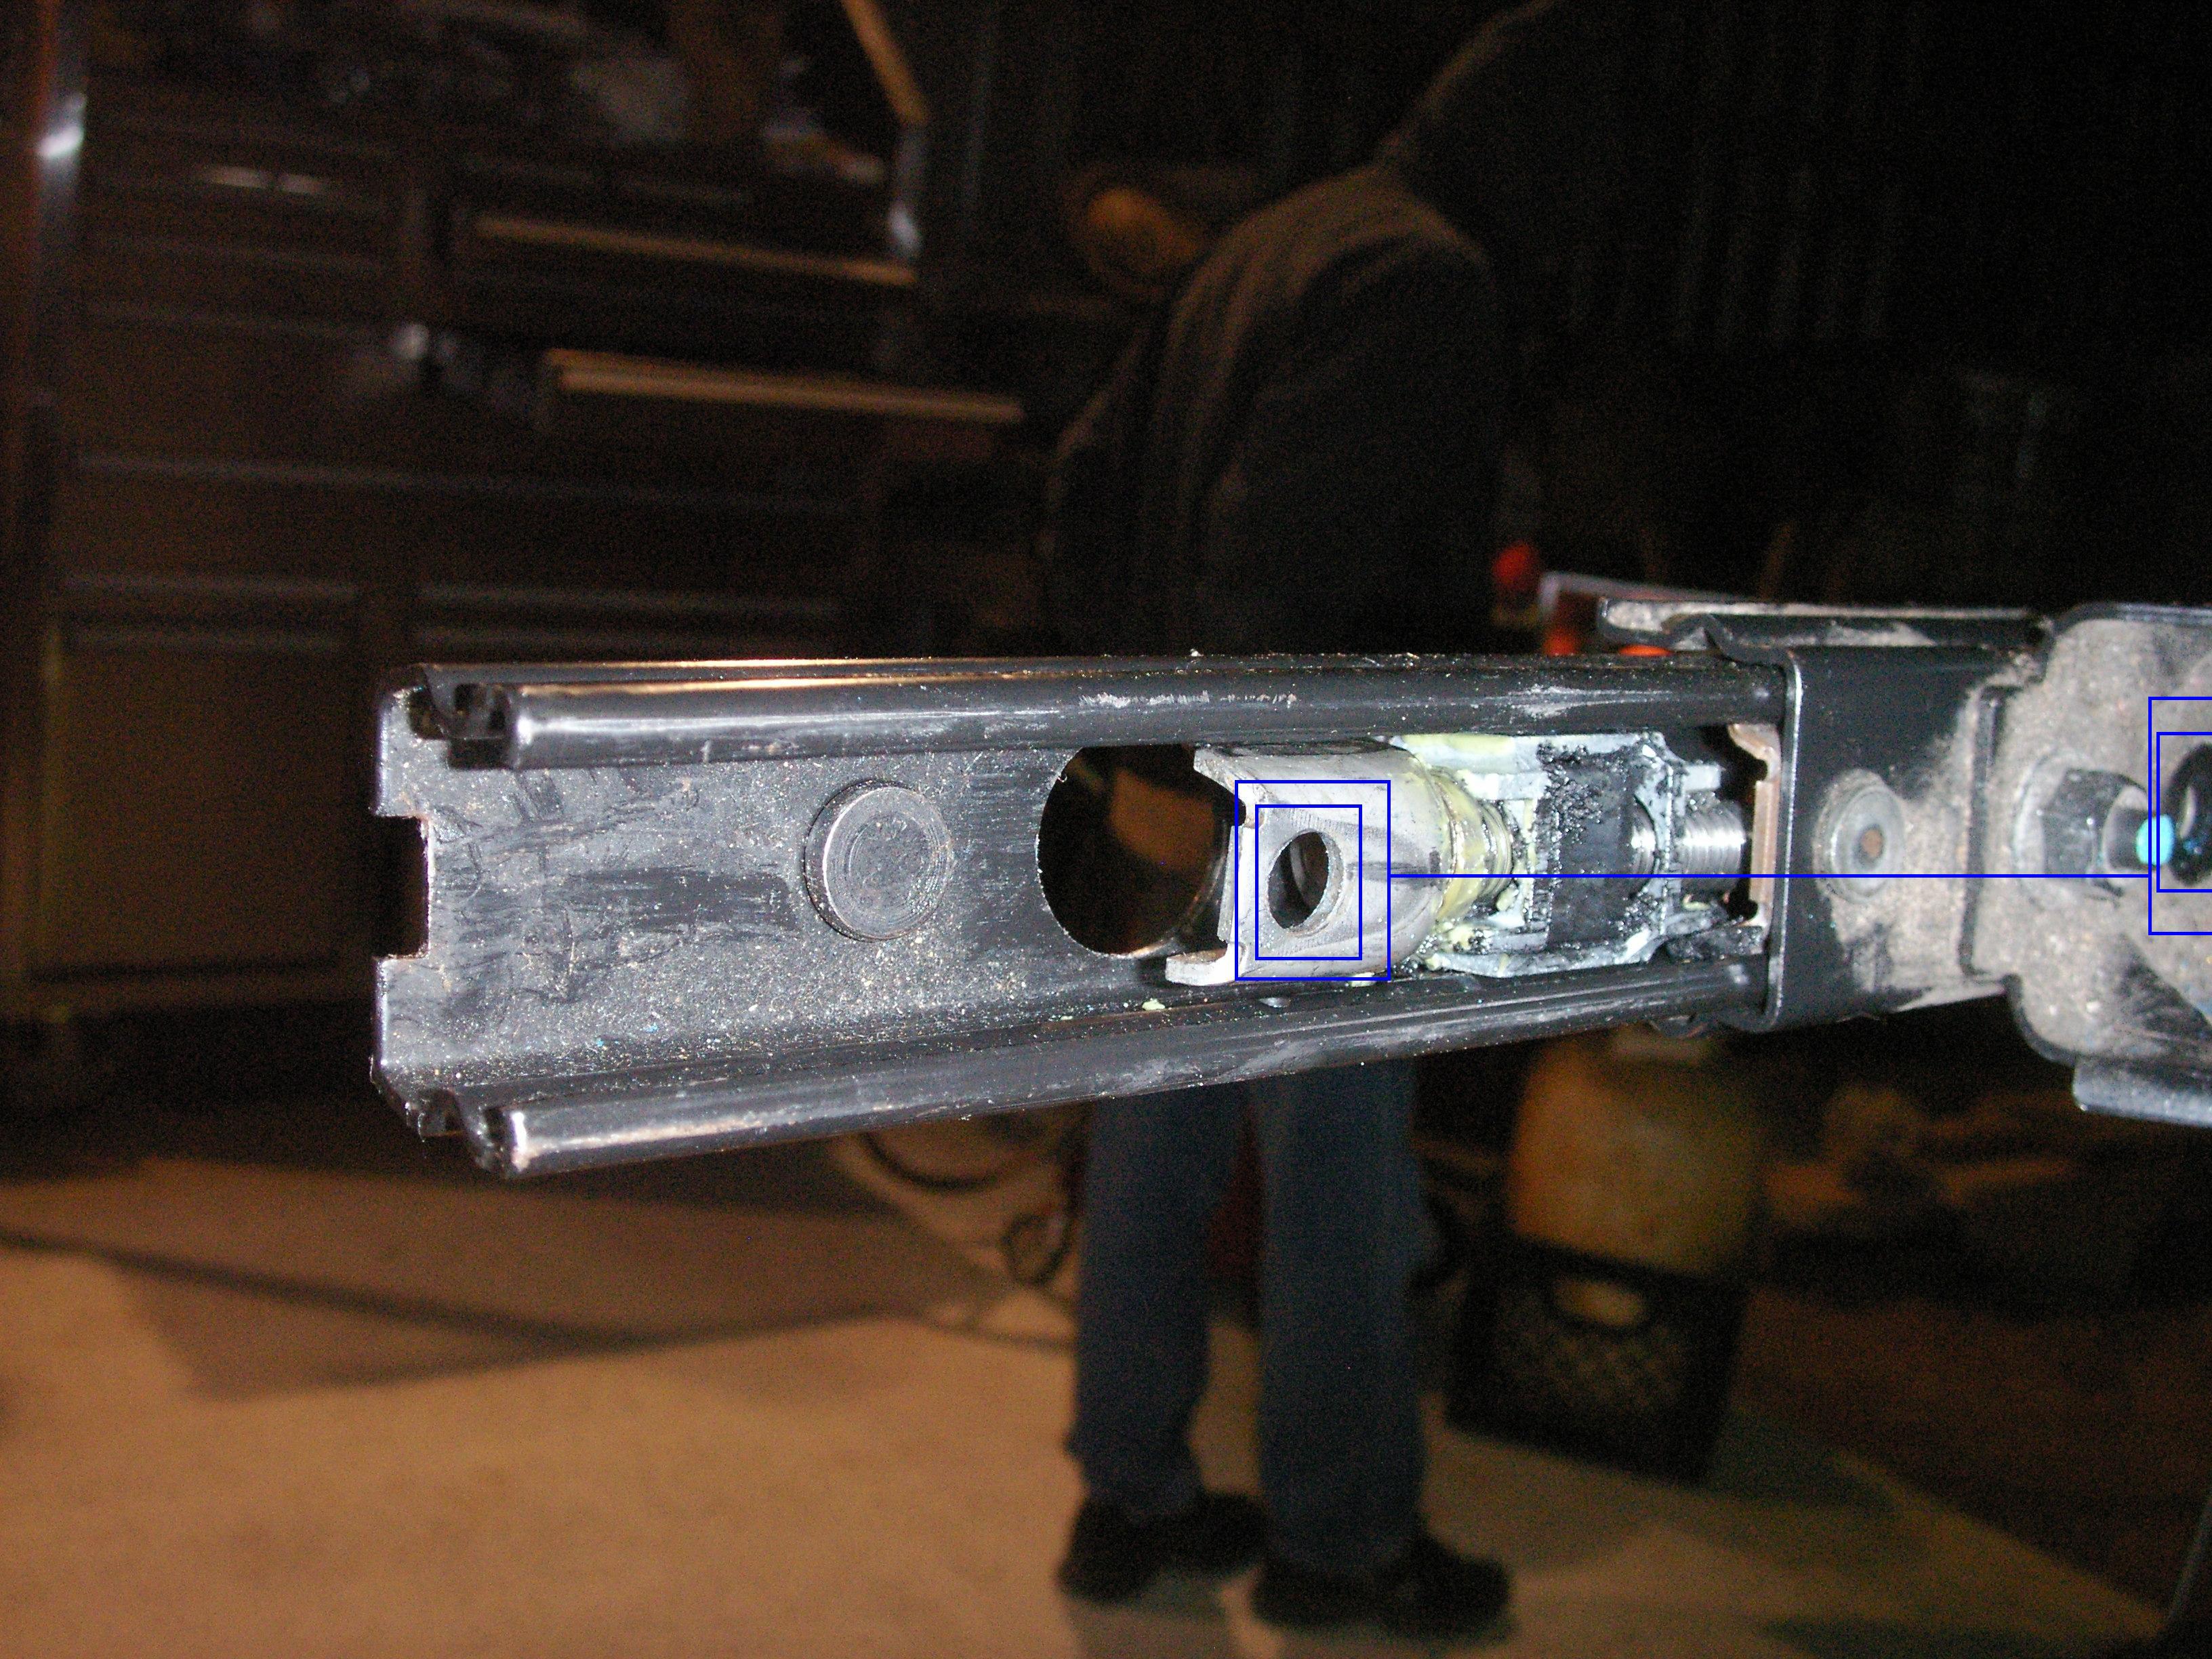
Now you have that really irritating piece out of the track. This is what you will see.
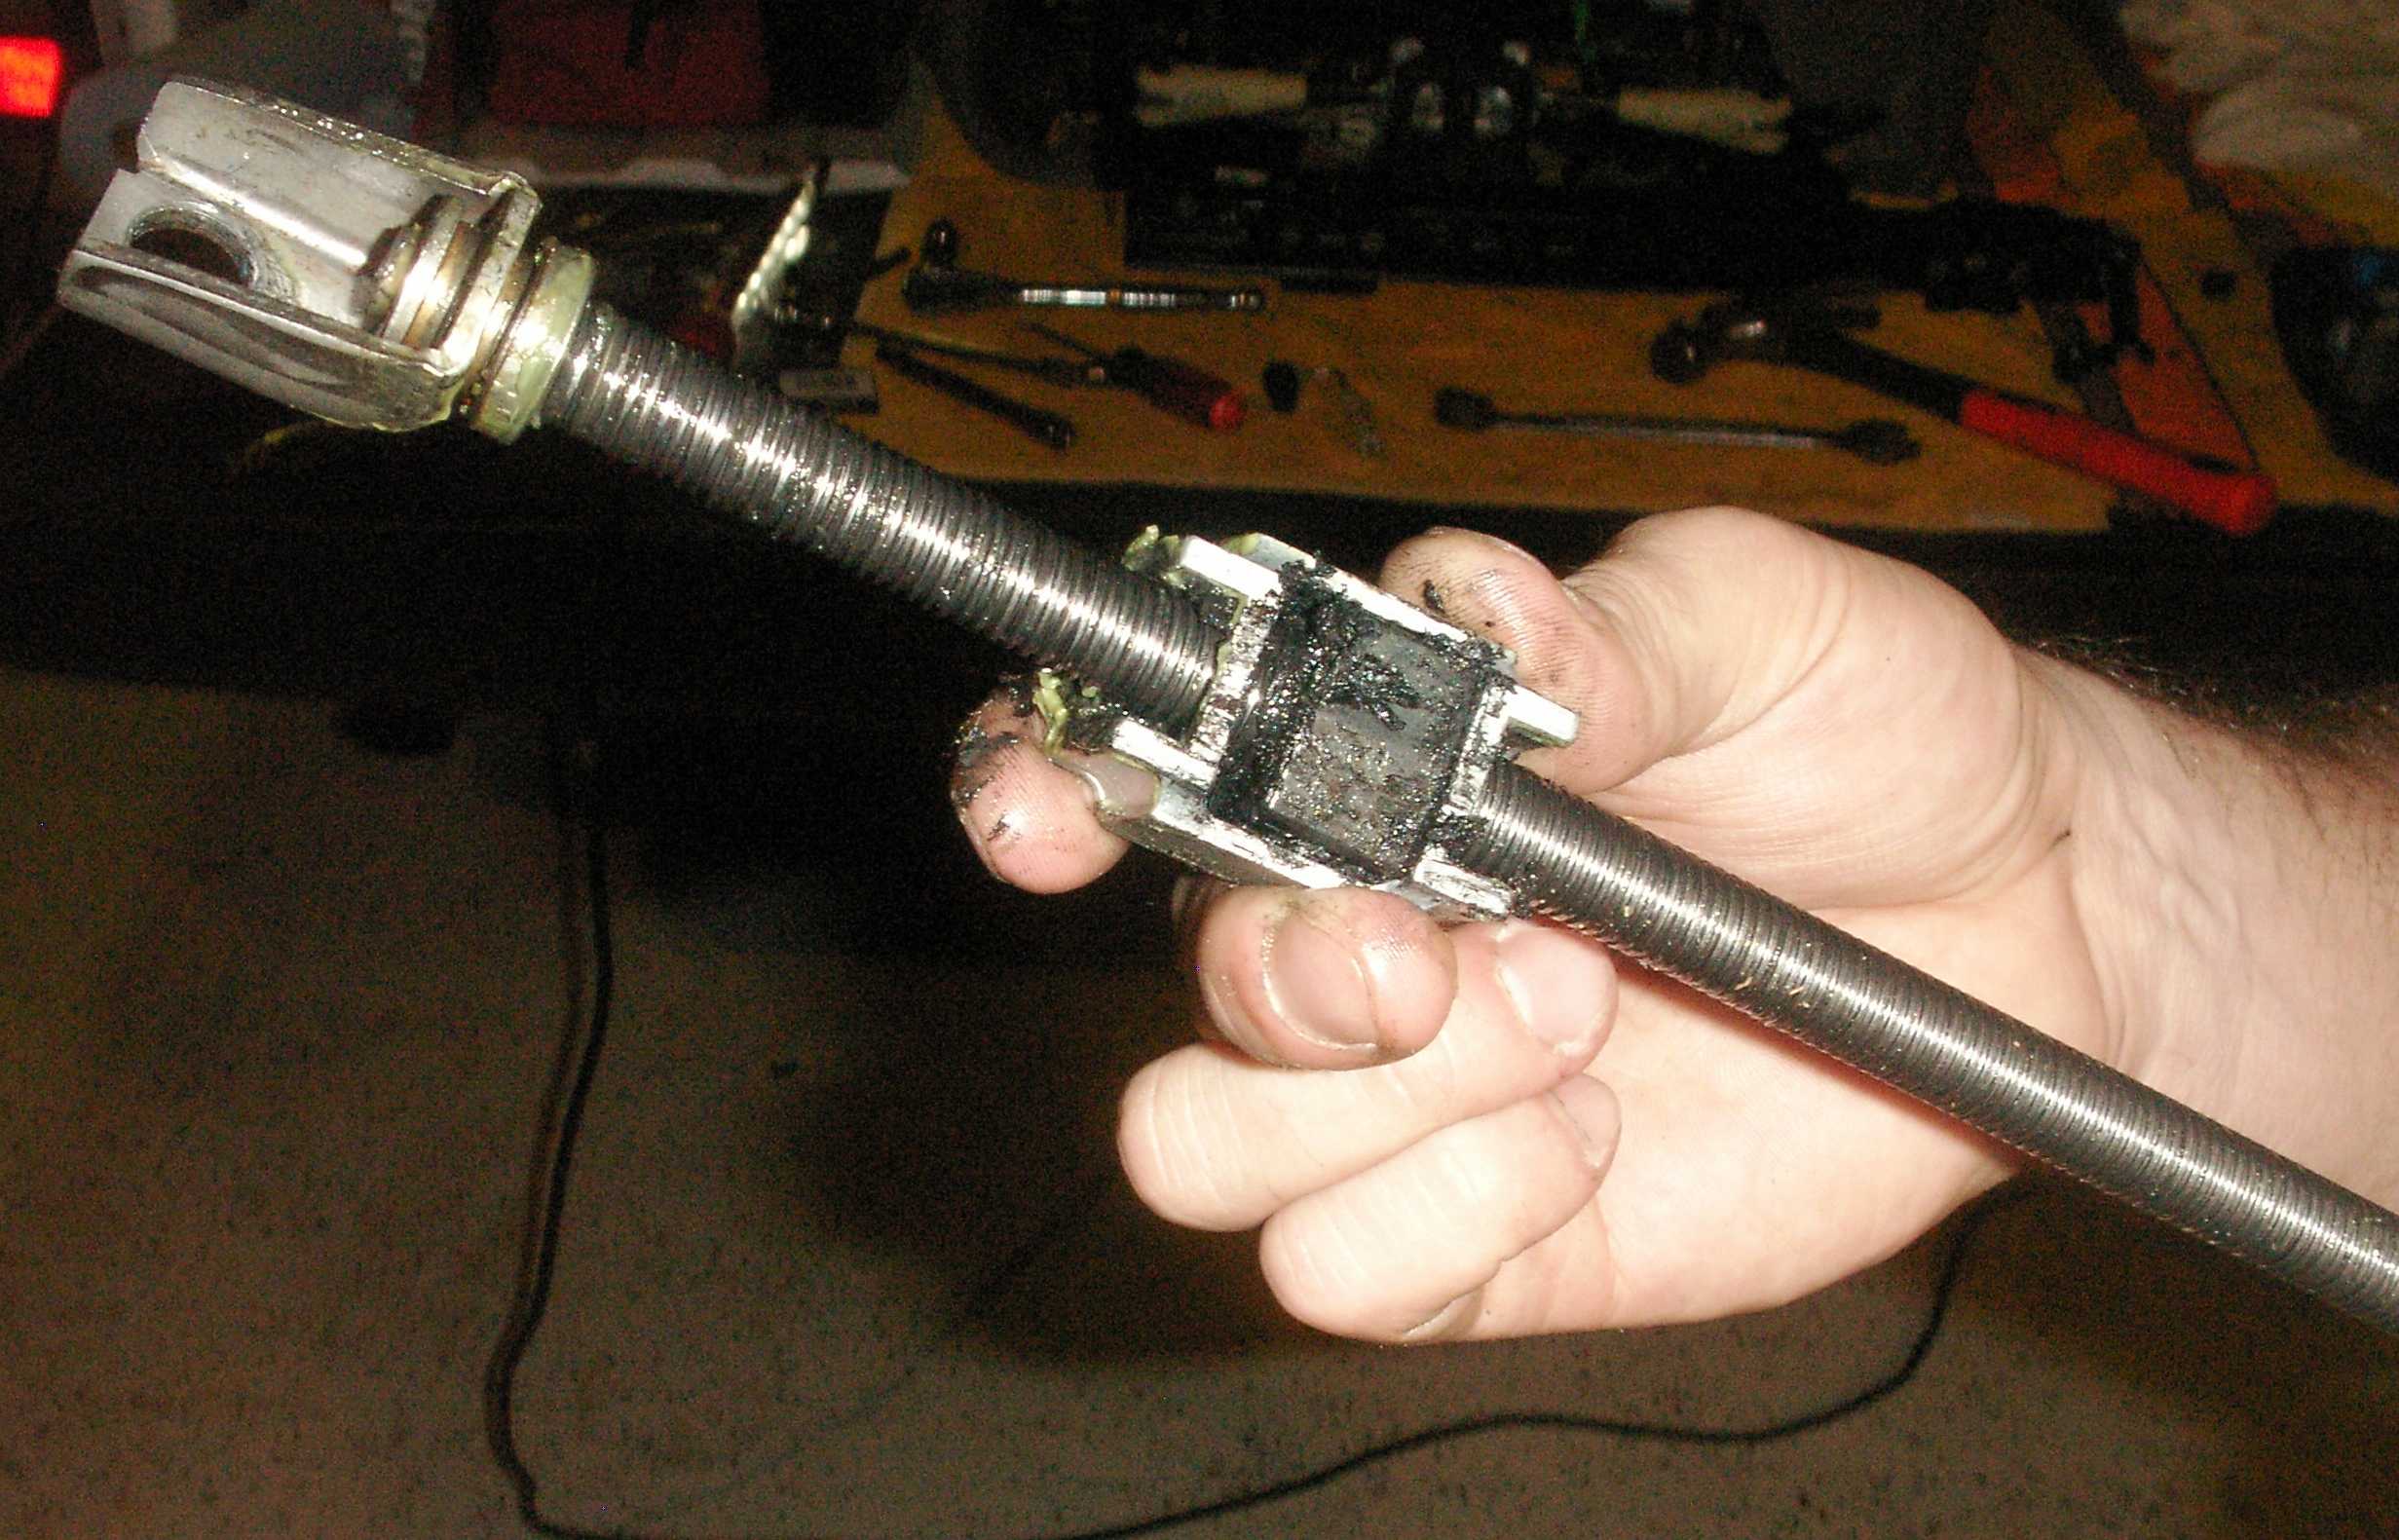
Unscrew the aluminum block off the threaded rod.
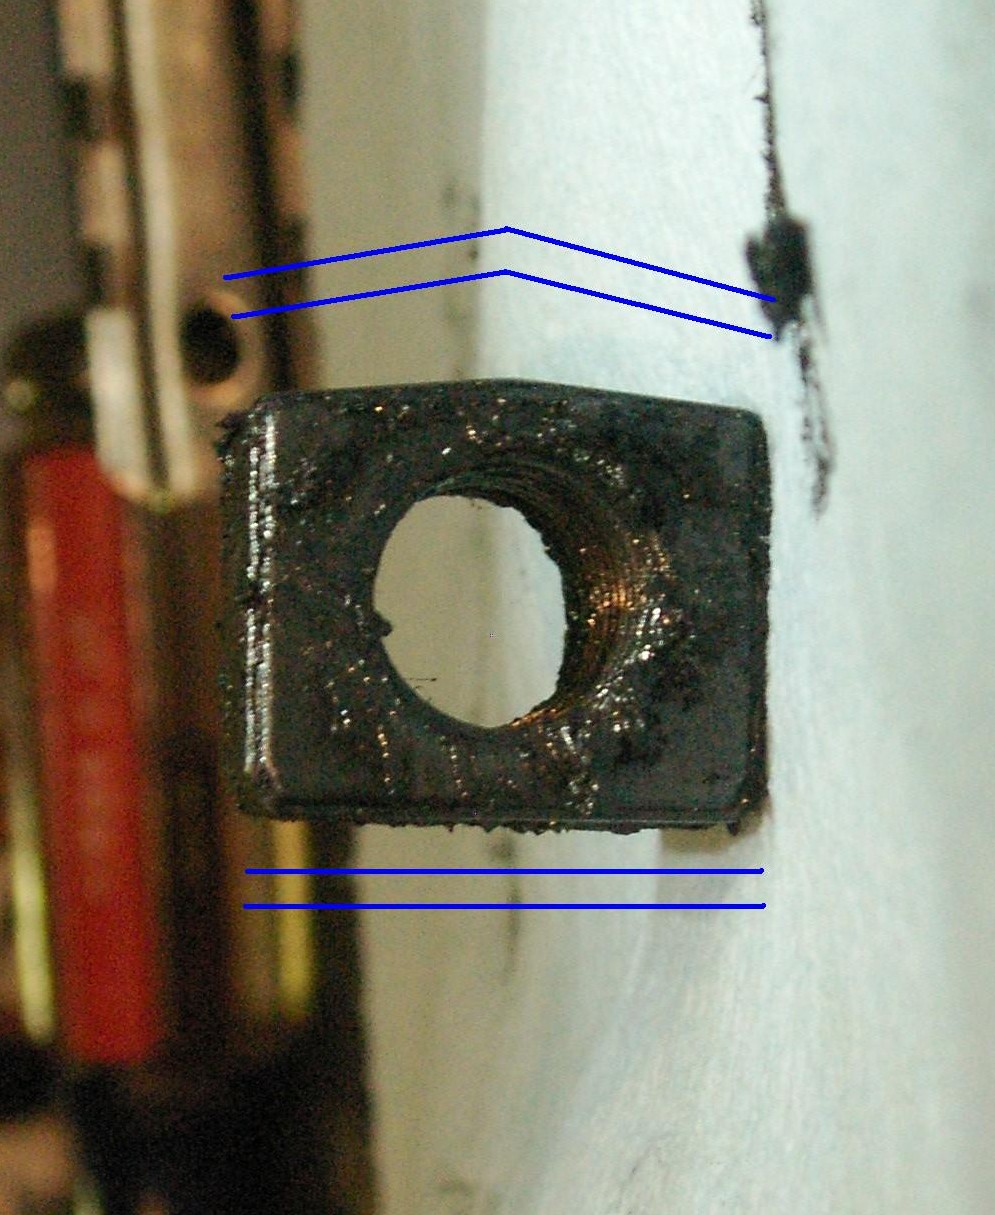
Take note as to how the nut inside the block is. One side has a peak on it. The peak goes up out of the hole in the block.
Step 13:
Clean up the threaded rod and block with paper towels or parts washer which ever suits you best. Get all the left over rubber bits out of the tracks with compressed air and a LONG SCREW driver if required.
Load aluminum block back up 2 washers on one side and one on the other side of the nut. Remember to put the nut back in Ridge up as described in step 12.
Step 14:
Take the synthetic grease and lube up the shaft. Spin the aluminum block down onto the threaded rod to the end, until it quits spinning then back it off 1/4 round. Be careful and make sure that the rod is set back like the picture in step 10 (e.g. the block is turned to where the 2 bolts will attach from the bottom and the one bolt will attach at the top).
Step 15:
Put it back just like you found it. Using the modified bolts to replace the rivet/studs you removed.
Step 16:
Clean the seat and carpet. Then put the seat back in the truck and bolt it back down.
Tools Required to complete this job:
Phillips Screw Drivers # 2 & 3.
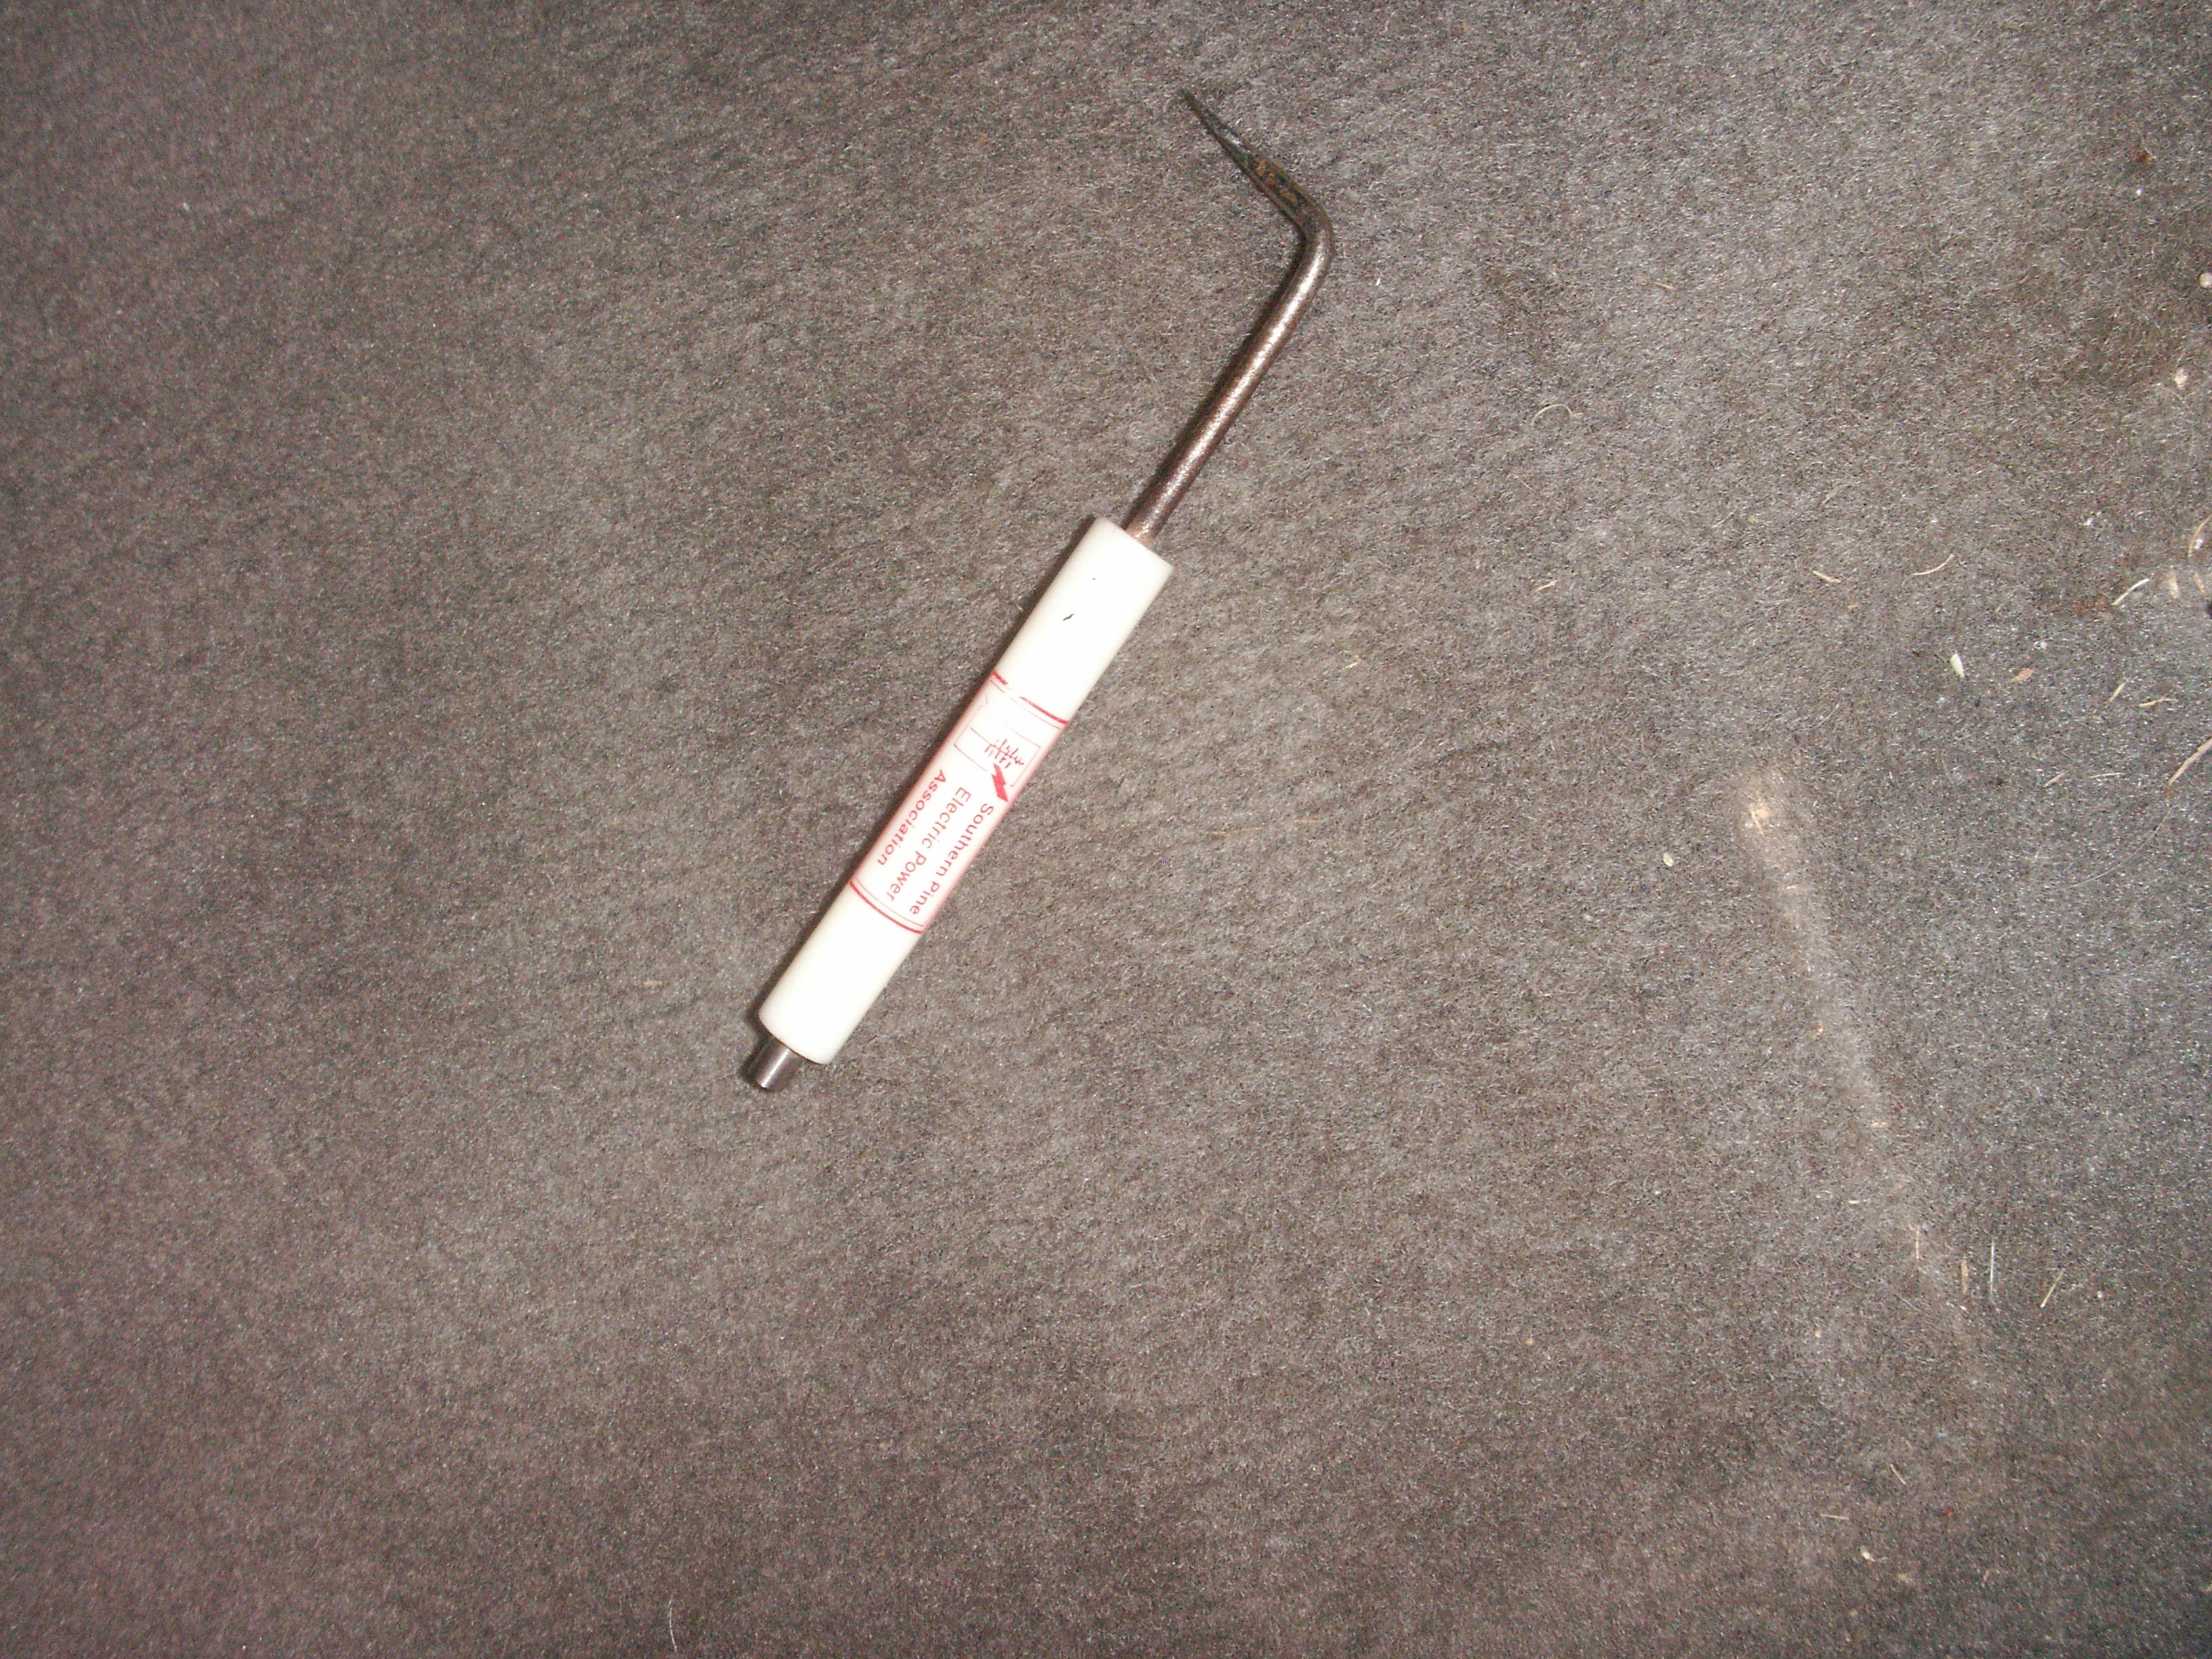
Pocket Screw Driver bend as required. You may want 4 or 5 so as you can get the bend just right this is needed in several different places. à I bent one about 6 years ago and I am still finding new uses for that thing every day. About one inch from the end of the screw driver I clamped it in a vice and bent it 90 degrees.
15mm socket
E18P socket
3/8 drive E10 socket
3.8 drive E14 socket
16mm deep socket
2 3/8 ratchets
3 inch 3/8 extension
Supplies:
Grease I used synthetic grease. You might want to pick up some odor/tasteless food grade stuff. If you down in the south and its summer when you do this. I did not and smelt it for a couple days. If you do not it just smells like grease when the truck is hot for a couple days.
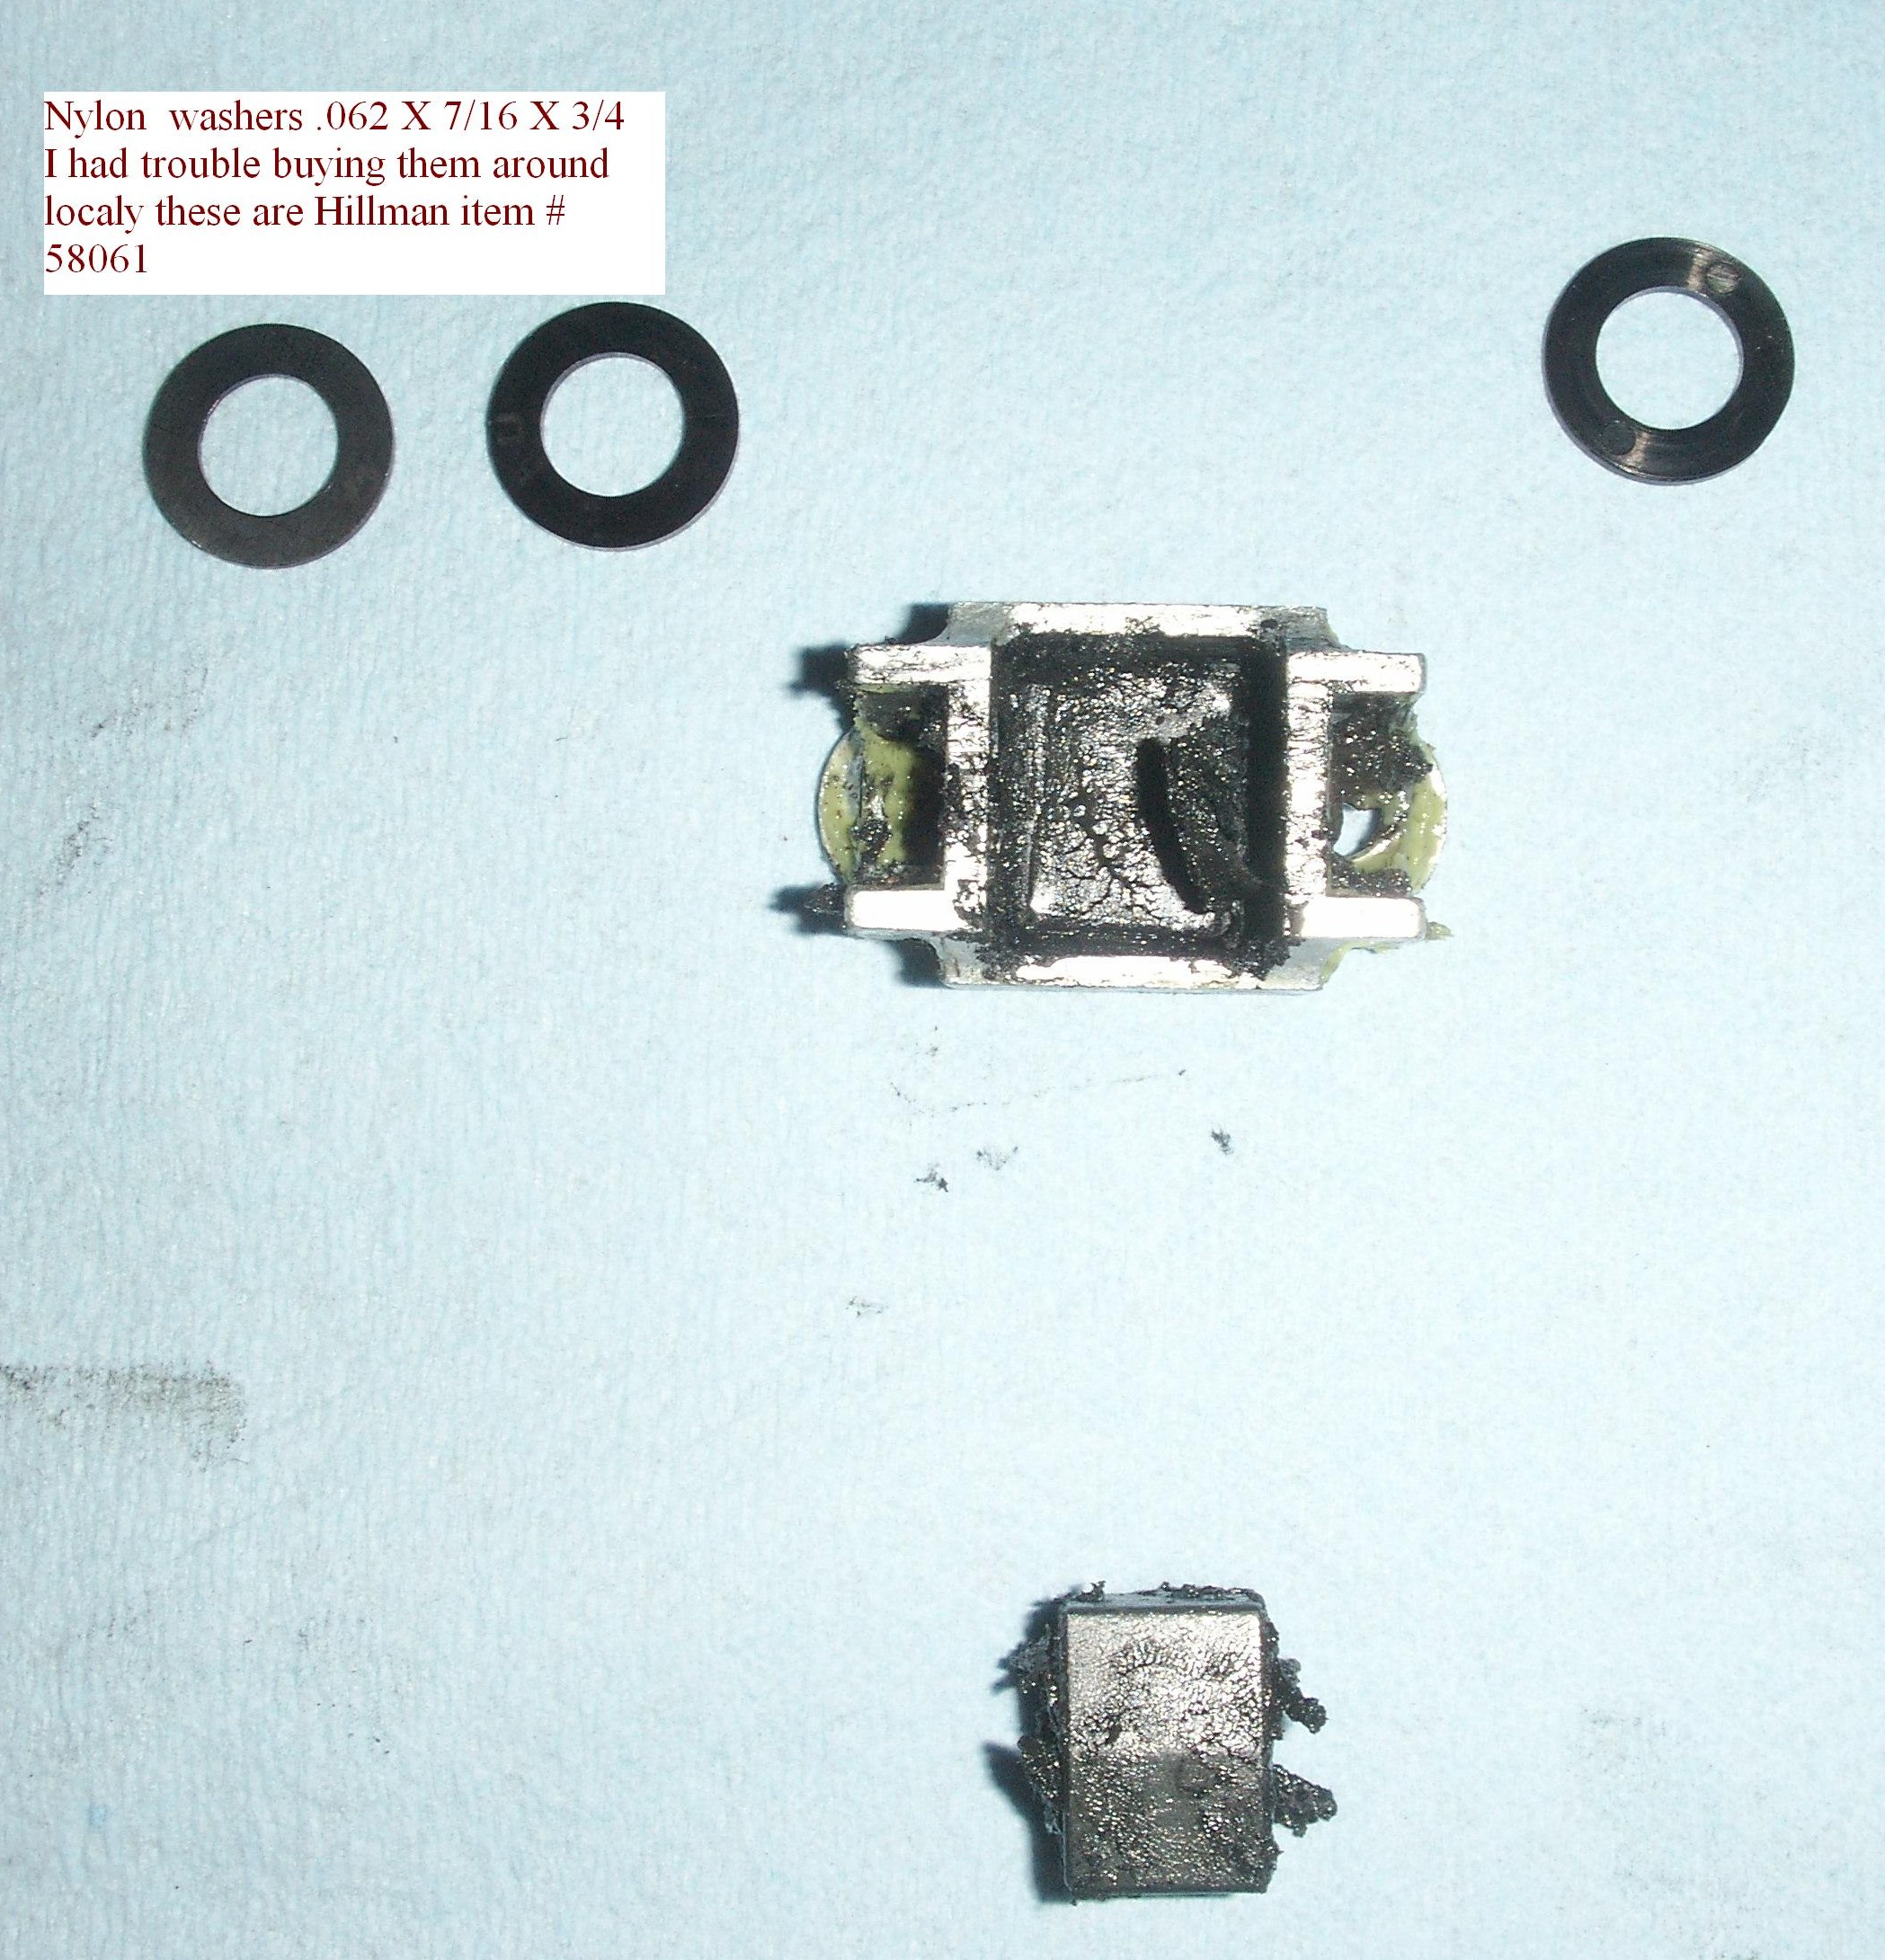
7/16 (0.4375) x 3/4 (0.75) x 1/16 (0.0625) nylon washers. It took me 3 per track. So 12, is how many I used.
v Hillman item # 58053-G Natural Colored (http://wedo.hillmangroup.com/item/products-18/nylon-flat-washers/58053-g?&seo=110 )
v Hillman item # 58061-Q Black ( http://wedo.hillmangroup.com/item/products-18/nylon-flat-washers/58061-q?&seo=110 )
6 to 8 Grade 10.9 10mm X 1.5 X 20mm or25mm
4 nuts any grade 10mm x 1.5
Etching primer à optional
Black paint à optional

Specialty Tool