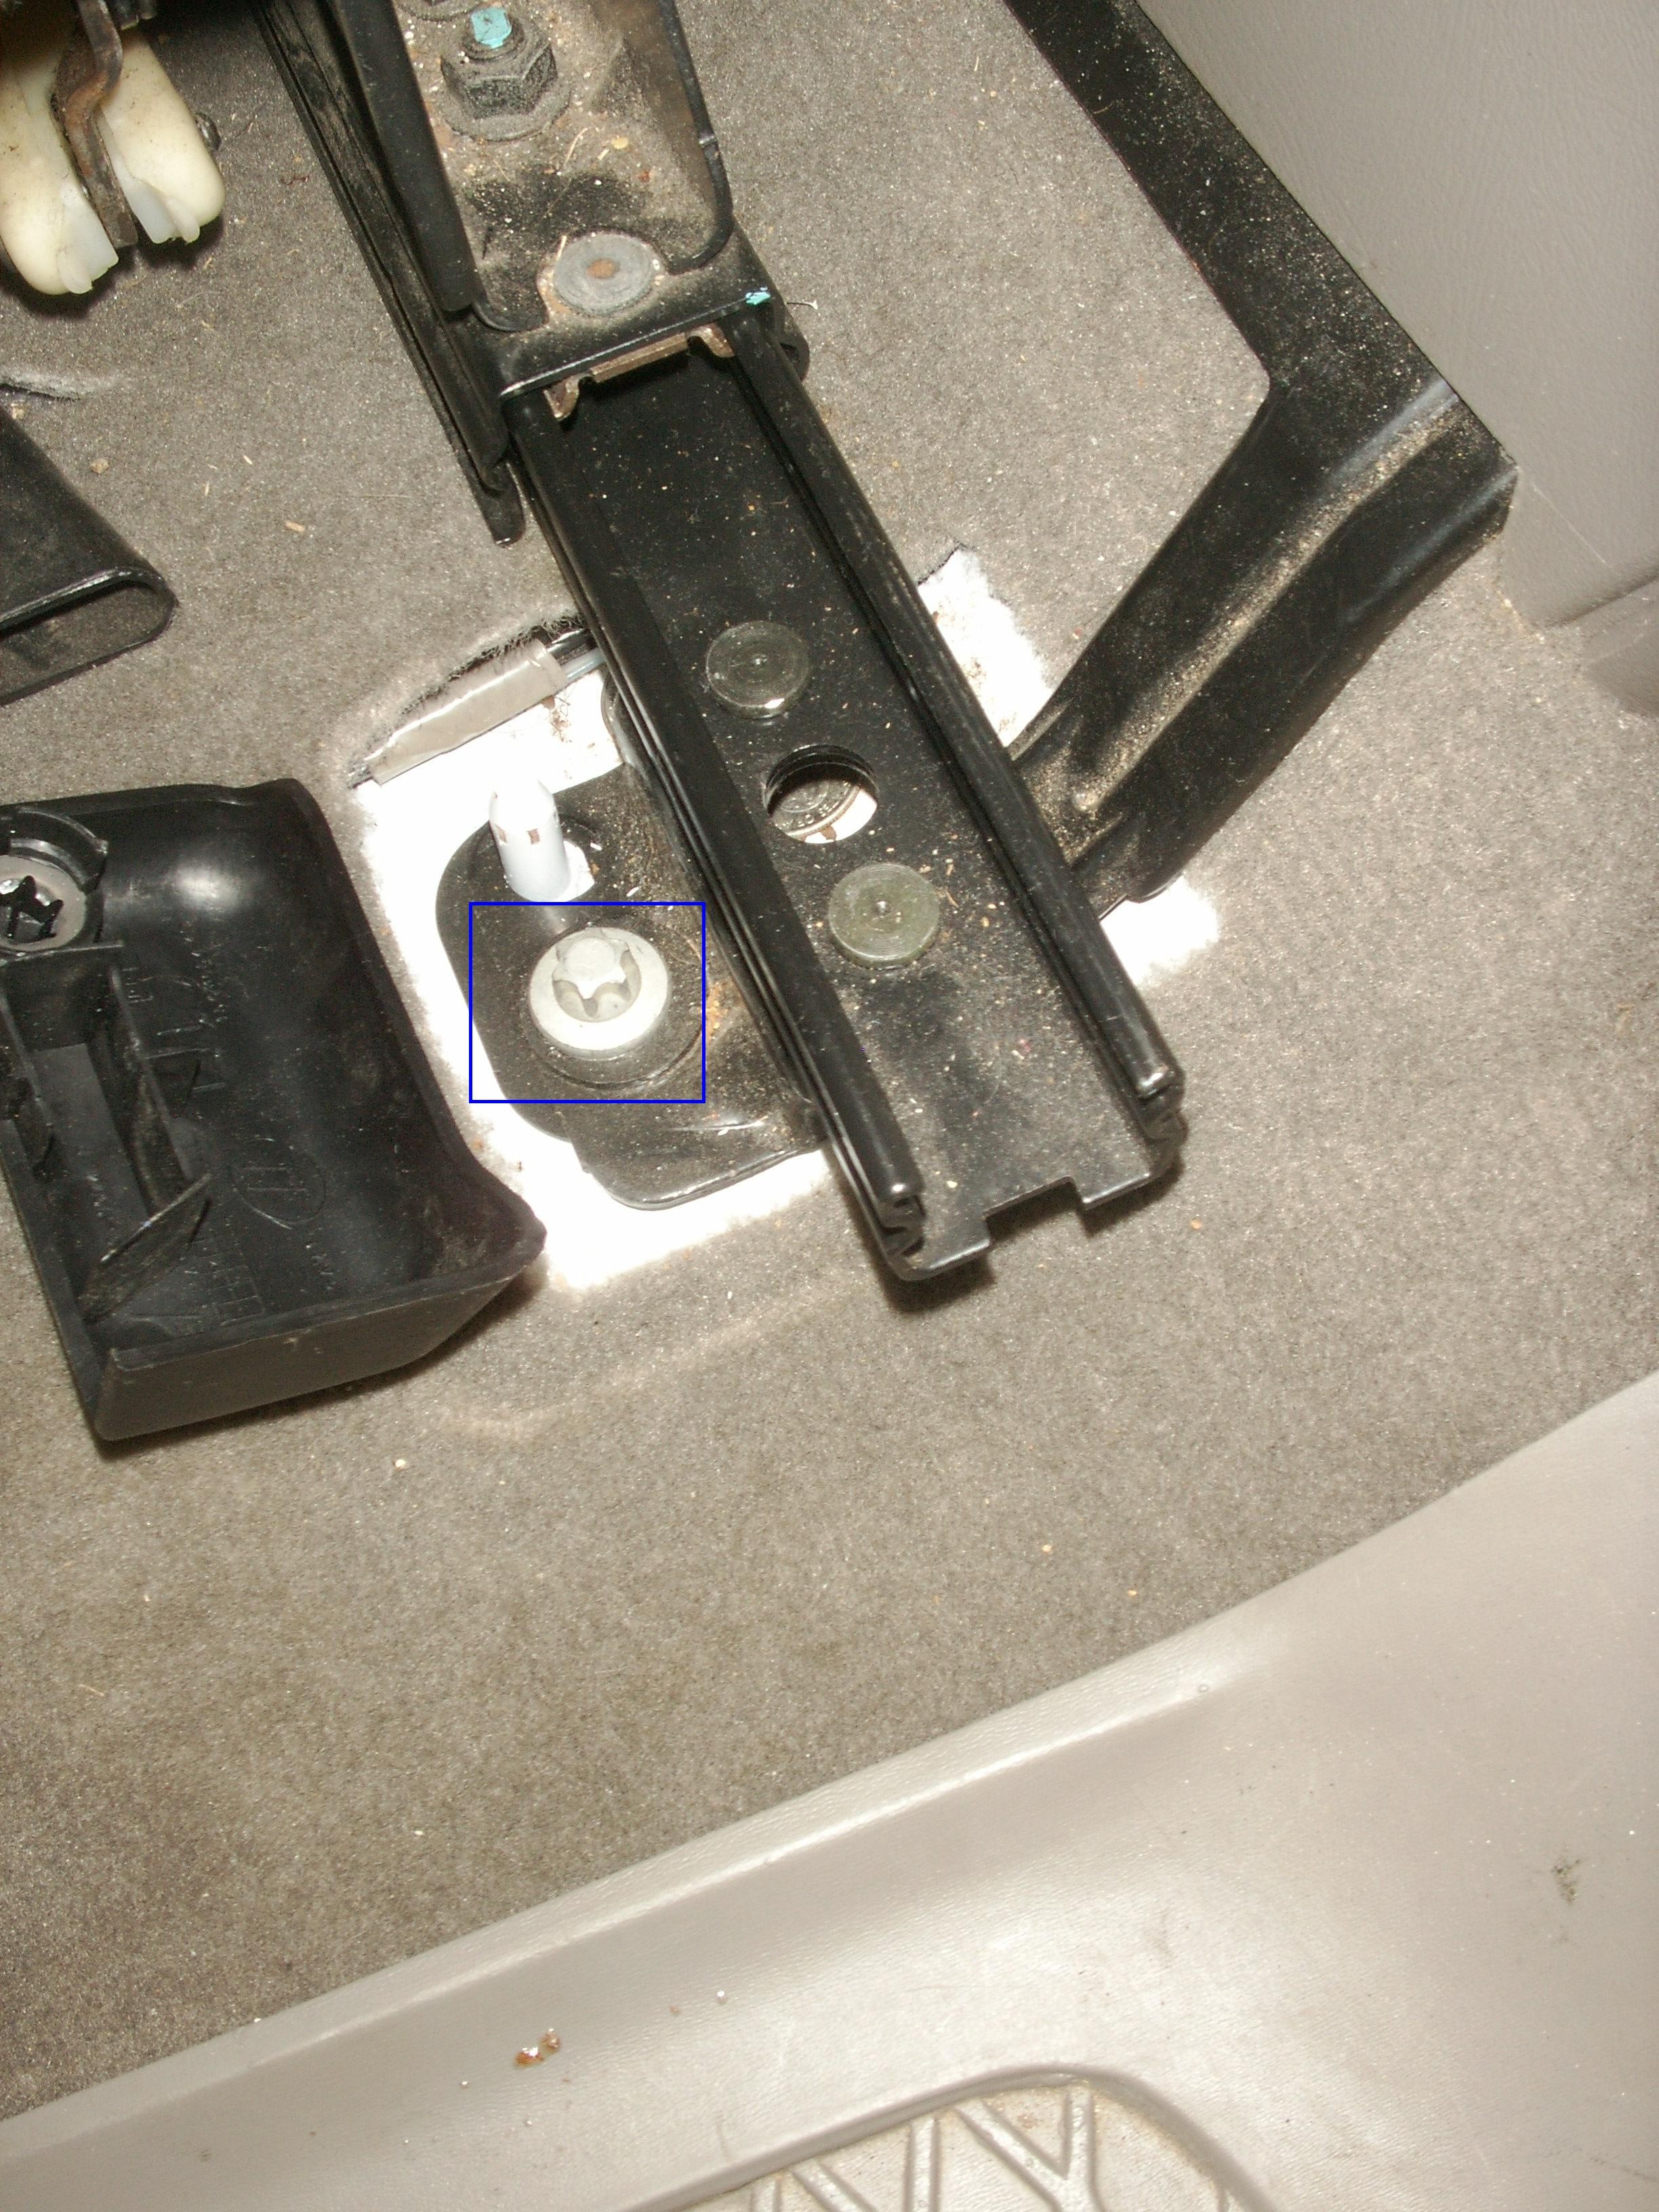
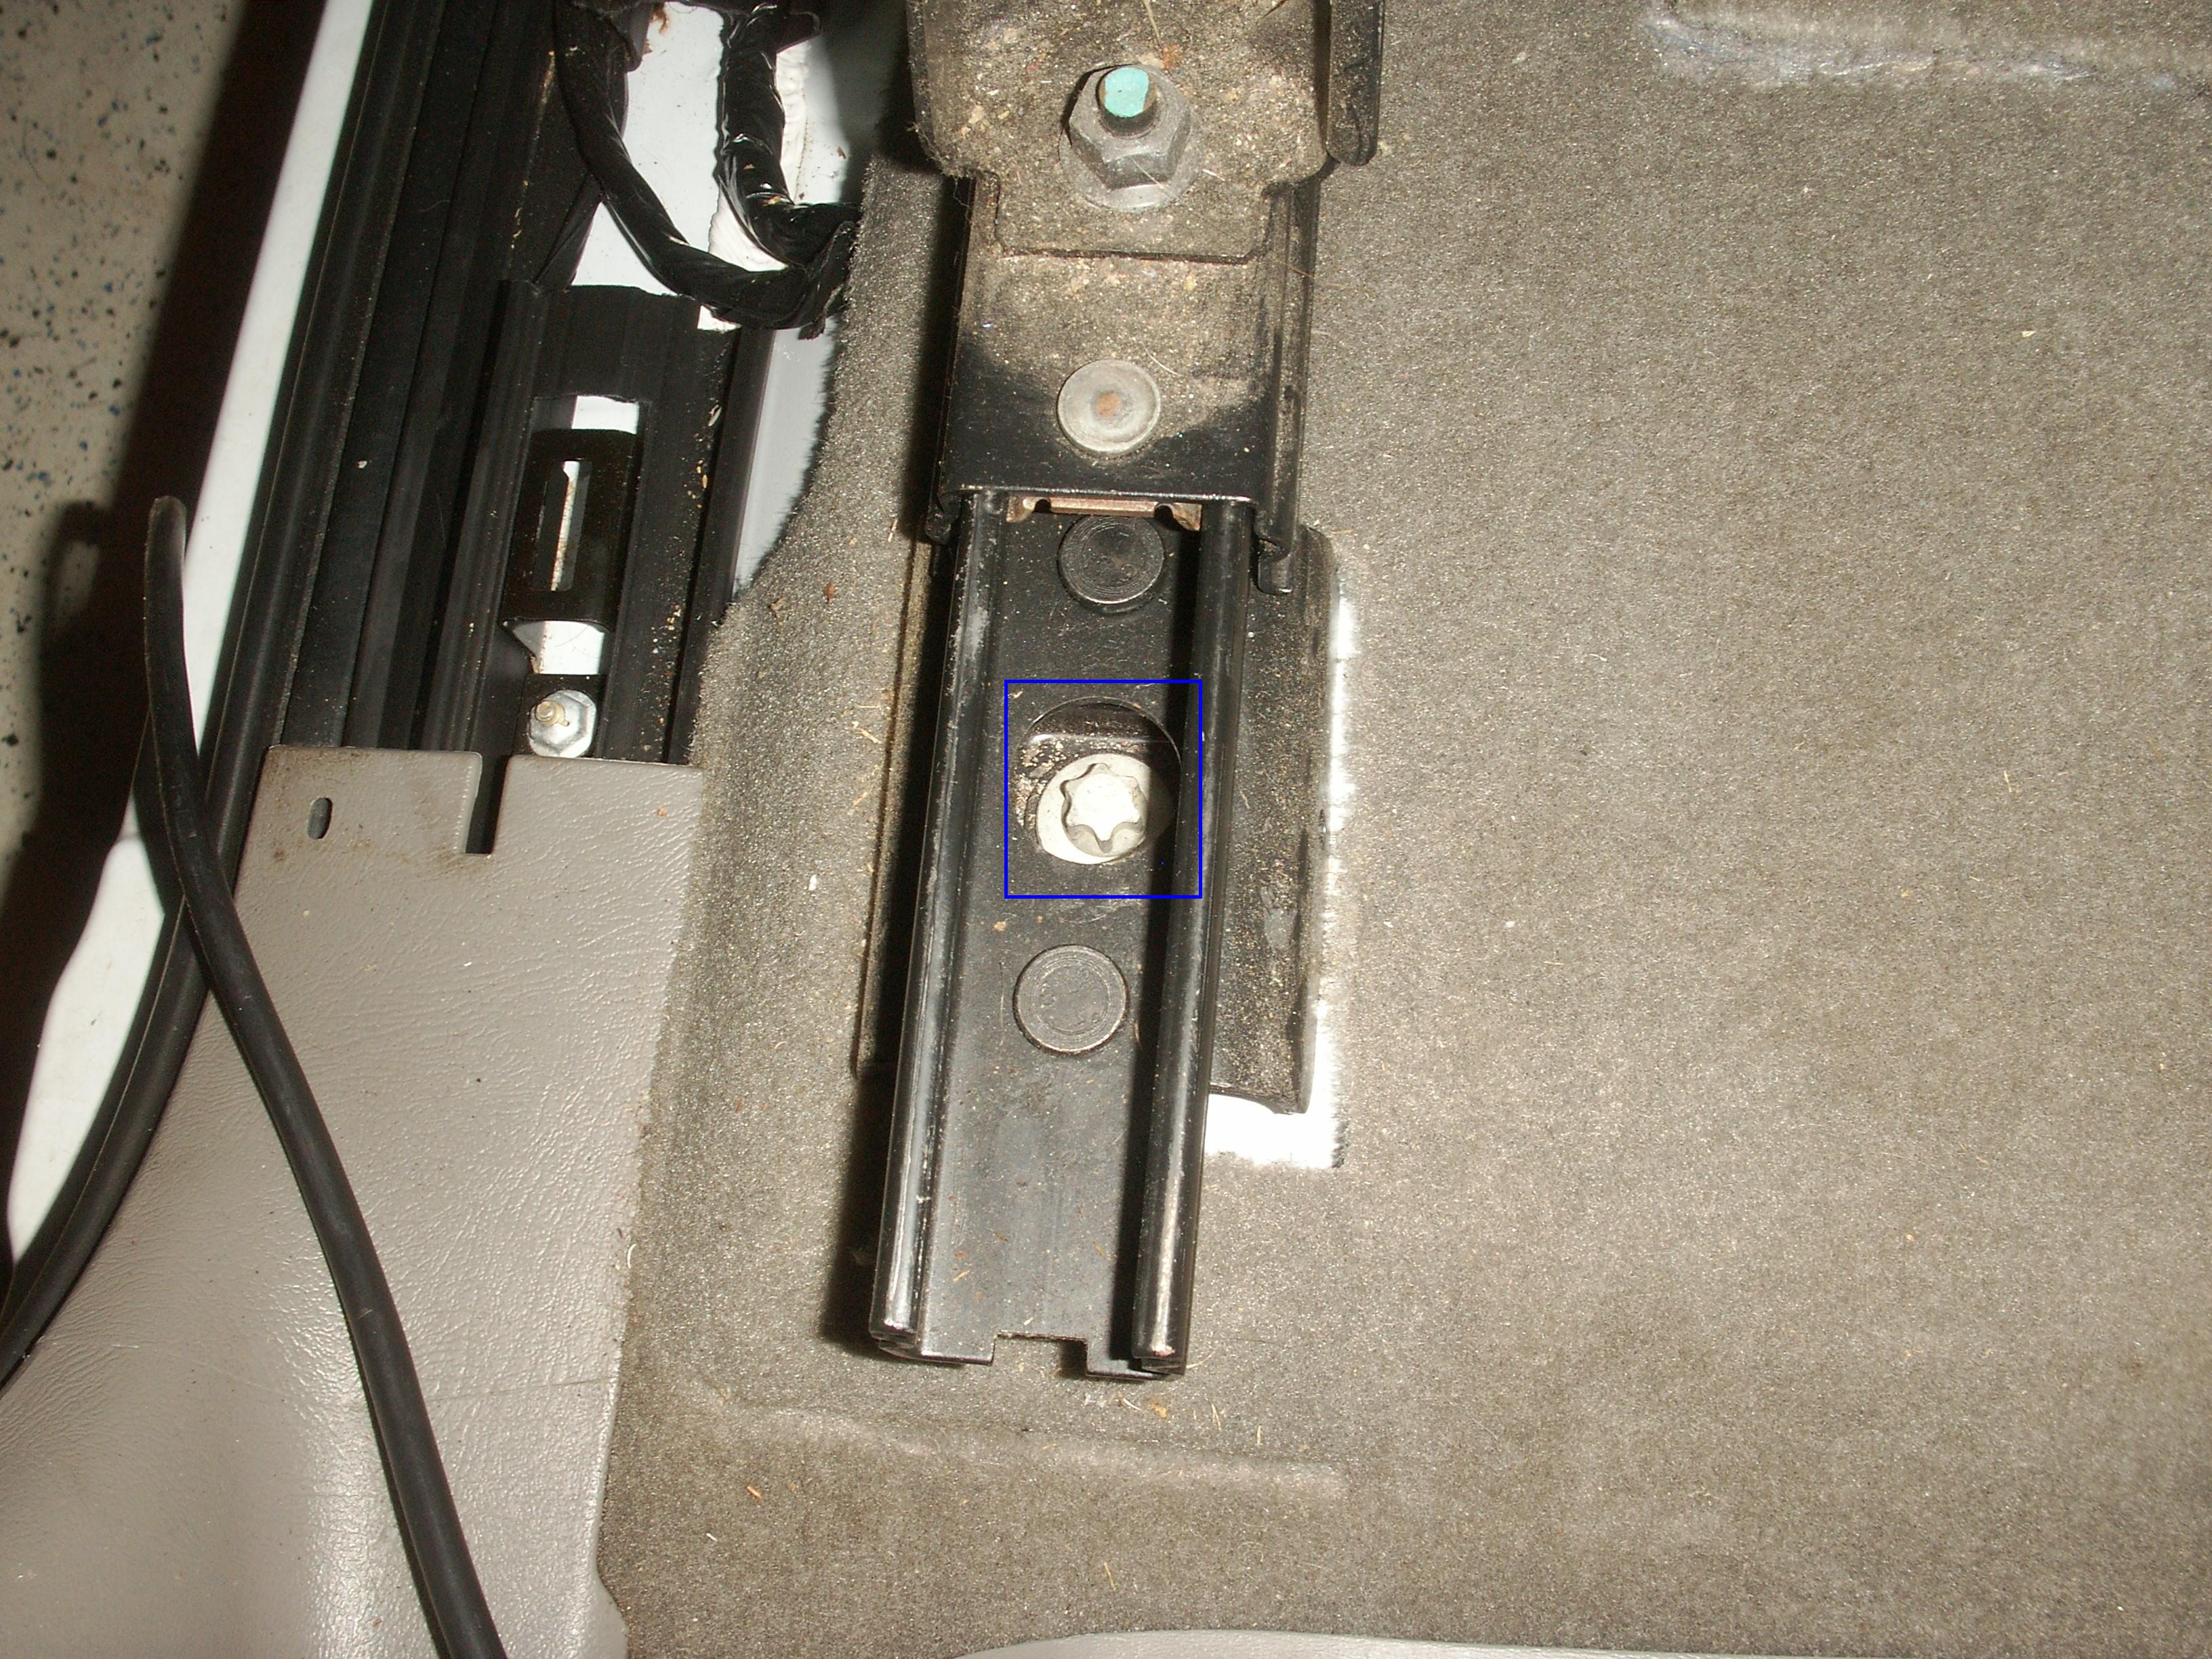
Run seat all the way to the front till the motor stops. Remove cover on inner track bolt. Remove the 2 rear bolts.
Step 4:
Raise seat all the way up and all the way forward. Locate the wire that comes from under the carpet and trace it to where it connects to the seat. Disconnect the wire at the connector.
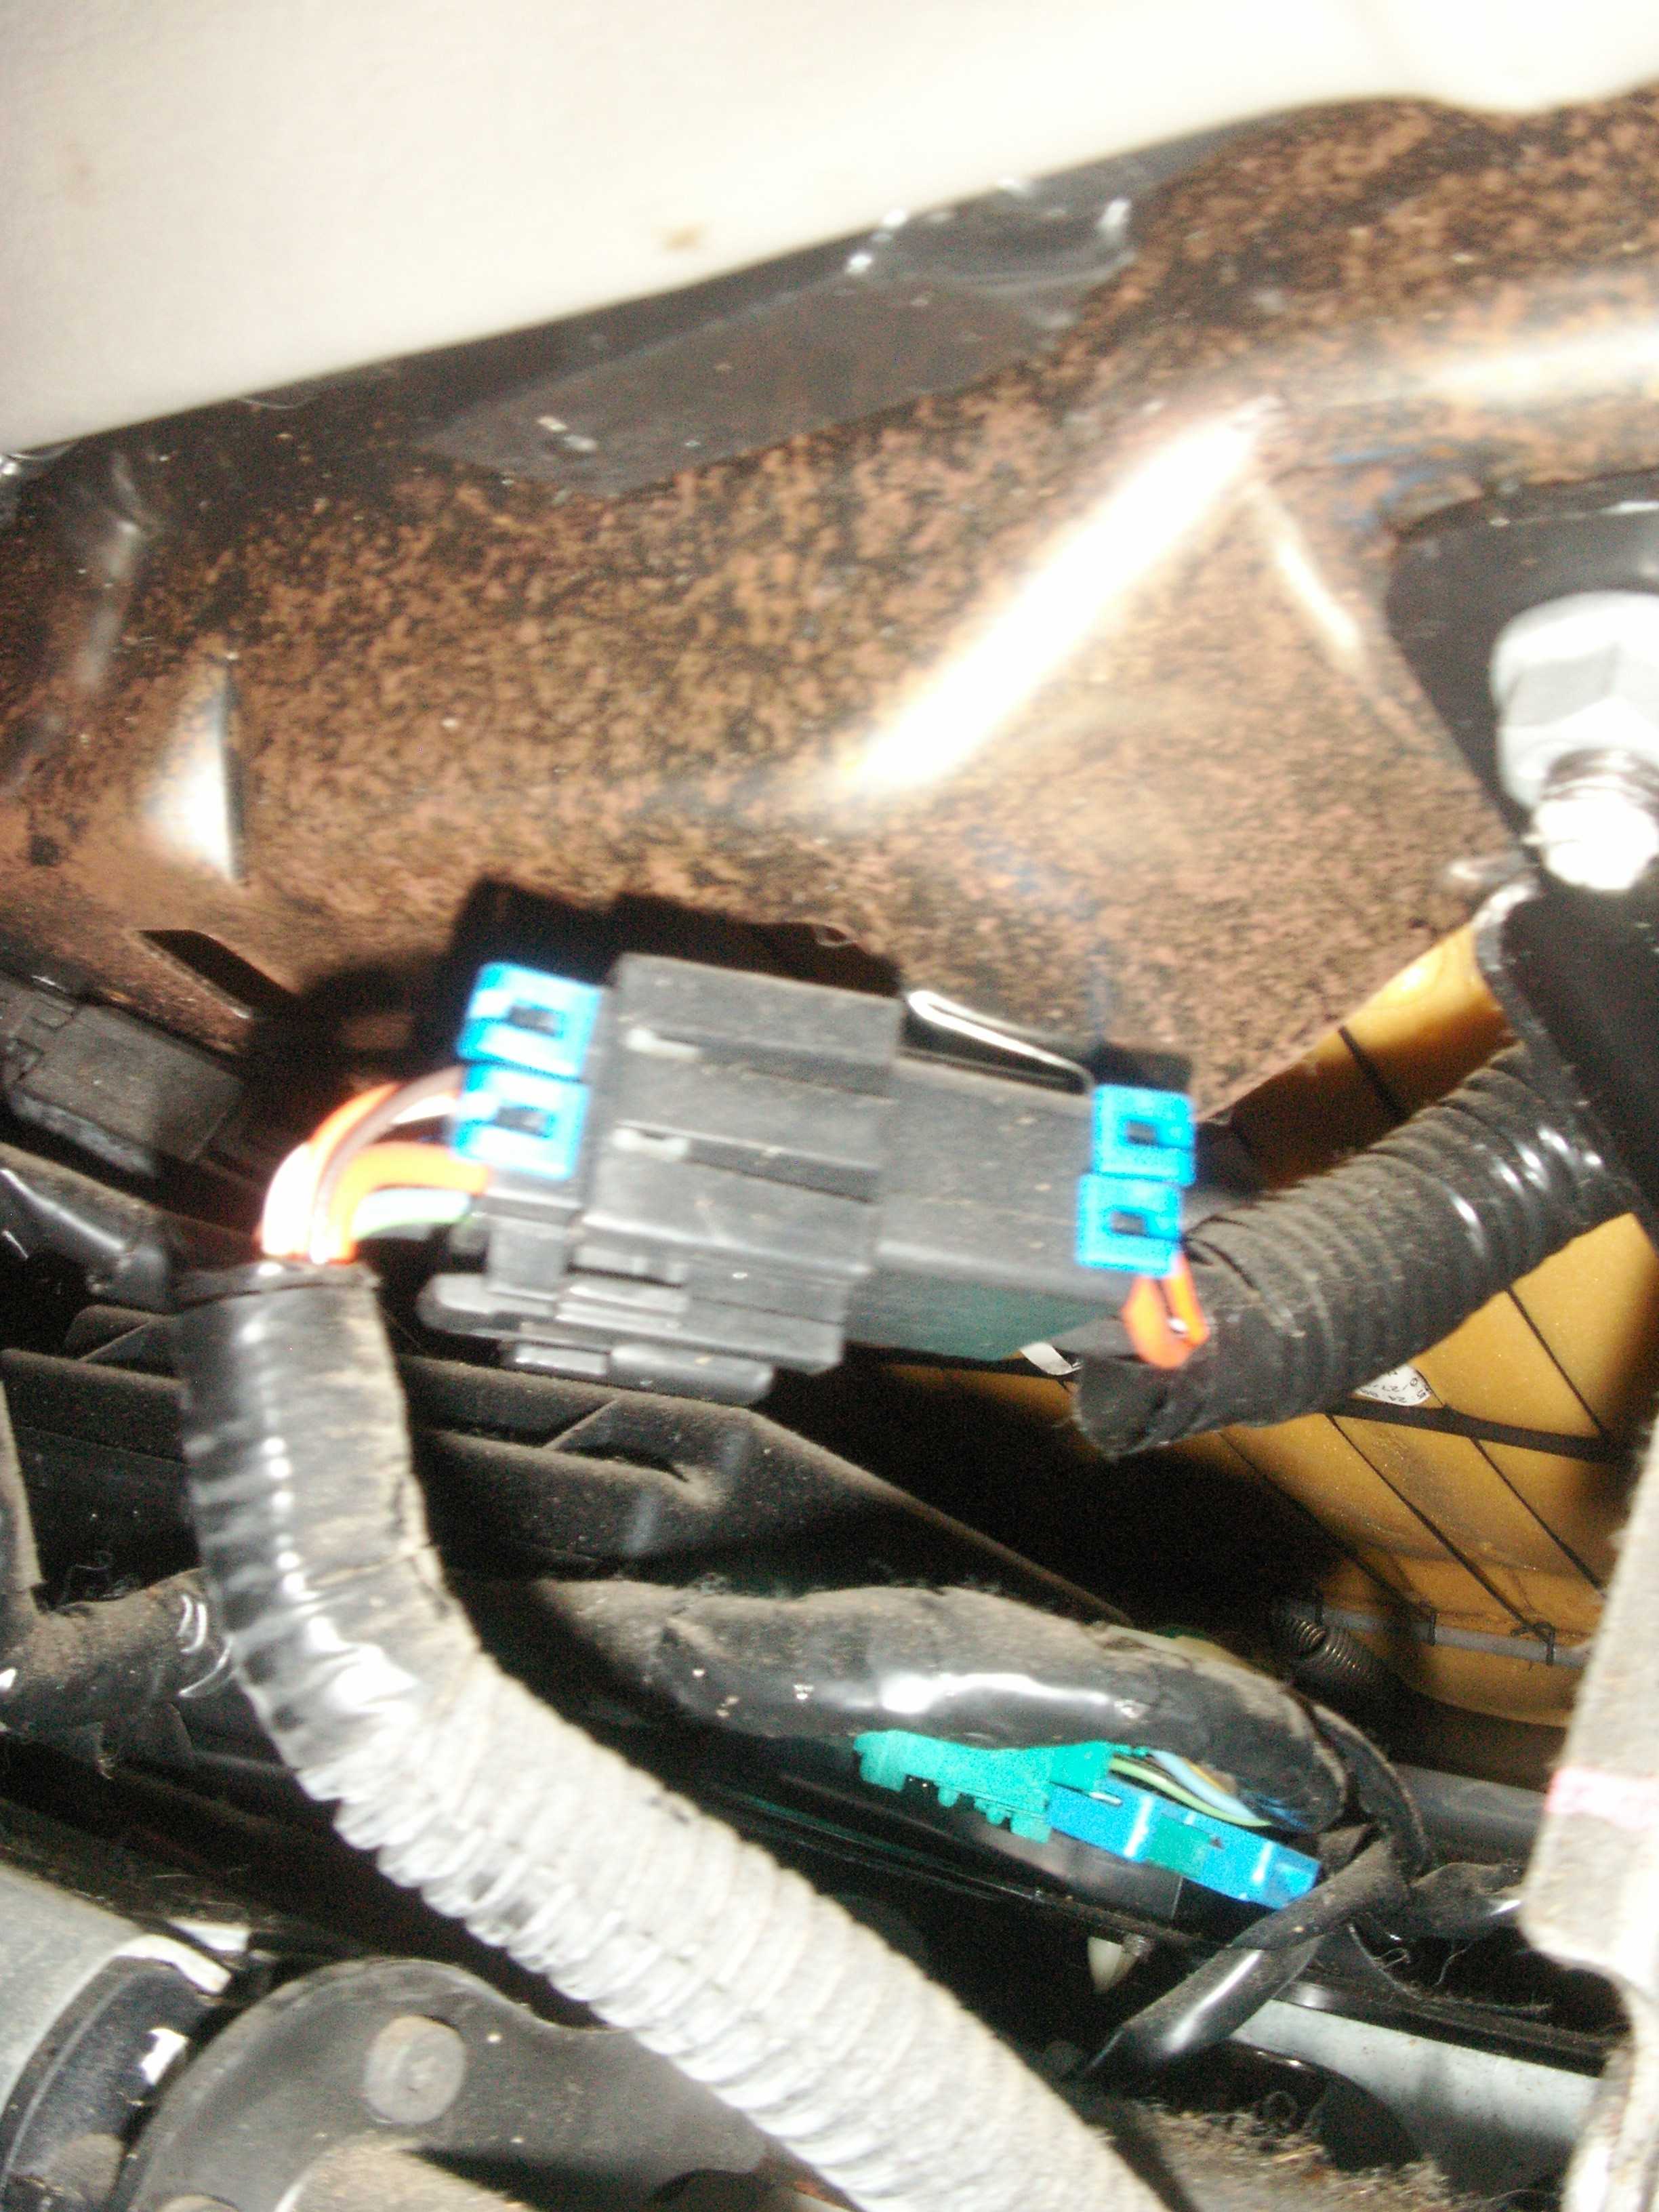
Note I have heard that newer trucks may have more than one connector on the drivers seat my truck is a 1999. The Passengers seat will only have ONE either way. Make sure to note how the wire is routed to the connector as you will need to know this when you put the seat back in to keep the motor from ripping the connector apart.
Step 5:
Prepare a work bench with a couple towels to catch loose parts and keep from getting you seats dirty when you working on them (I used to LARGE bath towels). Tailgate works great.
I would suggest a friend to help remove the seat as they can tend to be quite heavy and bulky. You do not want to damage the seat or the paint on the truck.
Step 6:
You will have to modify some bolts to replace some factor rivets!!!! Get grade 10.9 bolts at this is what is in the rest of the seat and will meet the grade level of the other bolts.
Bolts required:
10mm X 1.5 X 20mm or 25mm
NAPA / Rockford
2818-126 for 10mm X 1.5 X 20mm
NAPA / Rockford 2818-128 for 10mm X 1.5 X 25mm
You may want to get 2 nuts to jam the bolt from turning while grinding the head off Rockford 2827-010 (10mm X 1.5)
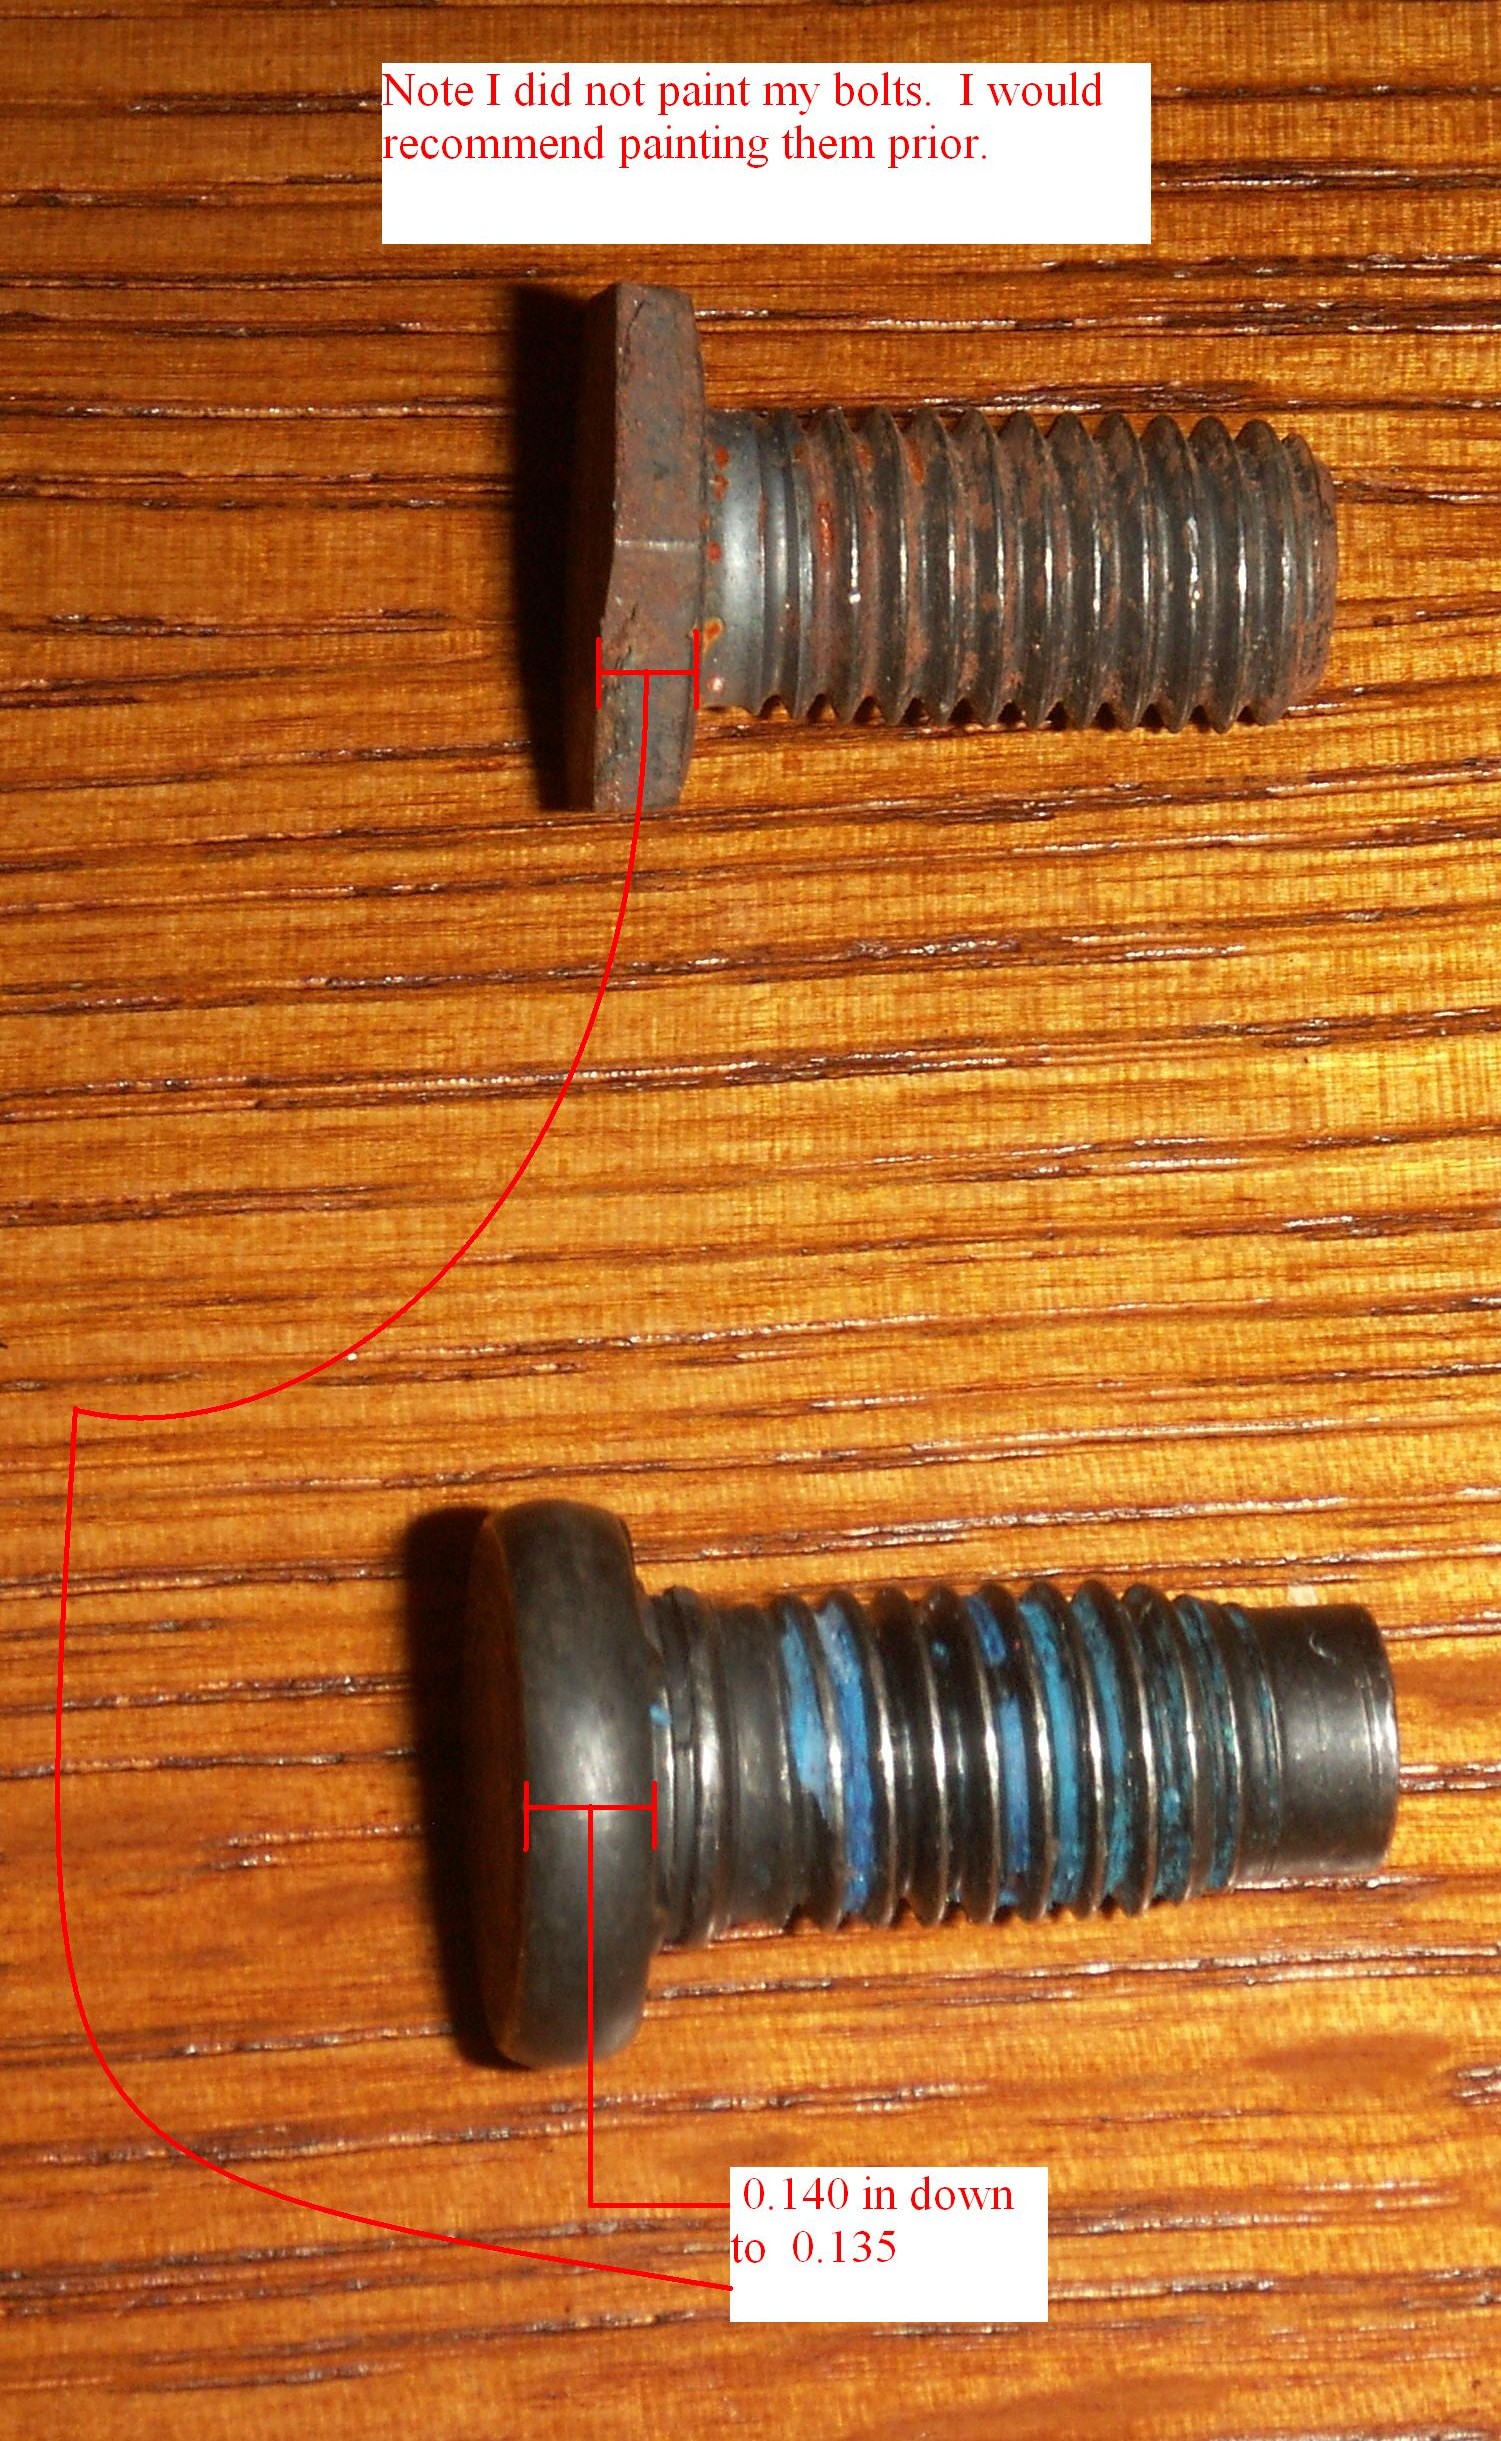
The 25mm long bolts need to be milled down by 3mm in length if you use them to keep the bolt the same length as the rivet/bolt the OE used.
Mill down the head of the bolts (to 0.135 to 0.140 to allow clearance) by either a side grinder, bench grinder, chop saw, valve grinder machine (do not tell the machinist that I said that, but I used his machine at work to make these hehehehe), flat file will work but your going to be there a while doing it.
You need 4 bolts to replace the rivets you will have to knock out.
Take the dial calipers and measure the thickness of the head of the rivets. It is crucial that you get this right. You will be replacing rivets that are in the way of the threaded rod in the track. If you get the head of the bolts you will be making to thick you could either burn up the motor or catch you vehicle on fire. Depending on how everything happens (motor binds up do the brushes go or began throwing sparks).
Cut the head down till you get a flat consistent thickness on the head of the bolt that matches or is slightly less than the head of the rivet.